Launching a YouTube channel
OK we are a little late to the party but we thought we would share our video production process.
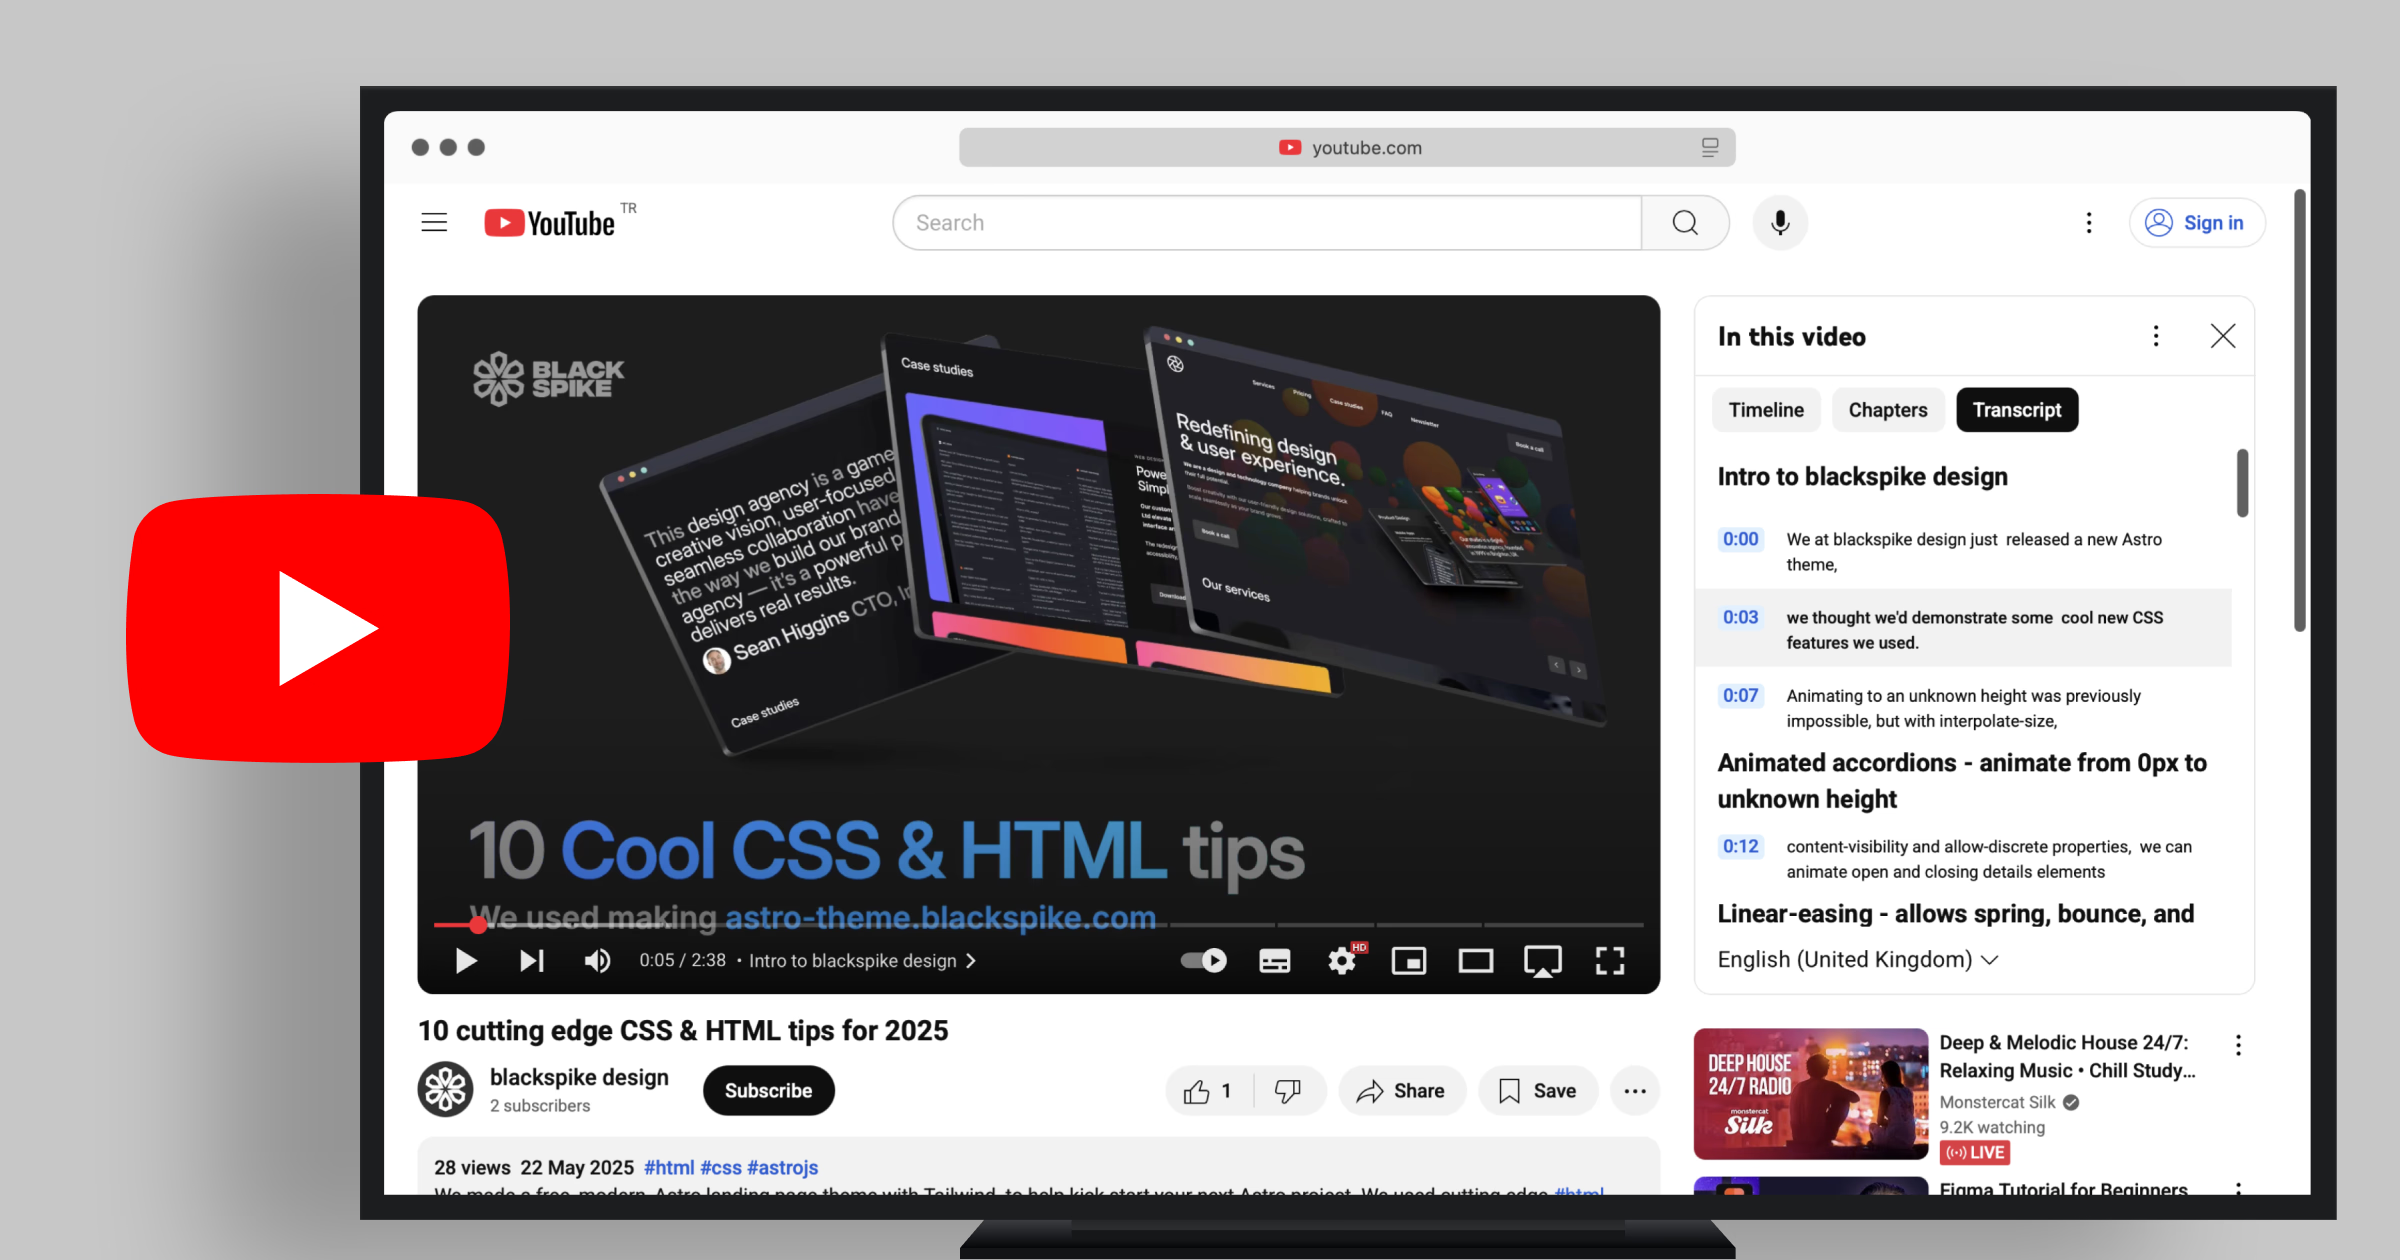
We made a free Astro theme which used a bunch of cutting edge HTML and CSS features that we wanted to share, and a video would be the natural way to demonstrate them (tldr, watch the video: 10 cutting edge CSS & HTML tips for 2025)
We’re no strangers to creating videos (check our previous blog post about Our video toolbox) but we’d never thought to put them online, so here we are, putting them online.
Our video production process
We aim to produce a series of these tutorial-type videos, each containing code screenshots, a video of what’s happening in the browser, and some explainer text – essentially a PowerPoint slide deck but without PowerPoint’s limited design features.
Astro to the rescue!
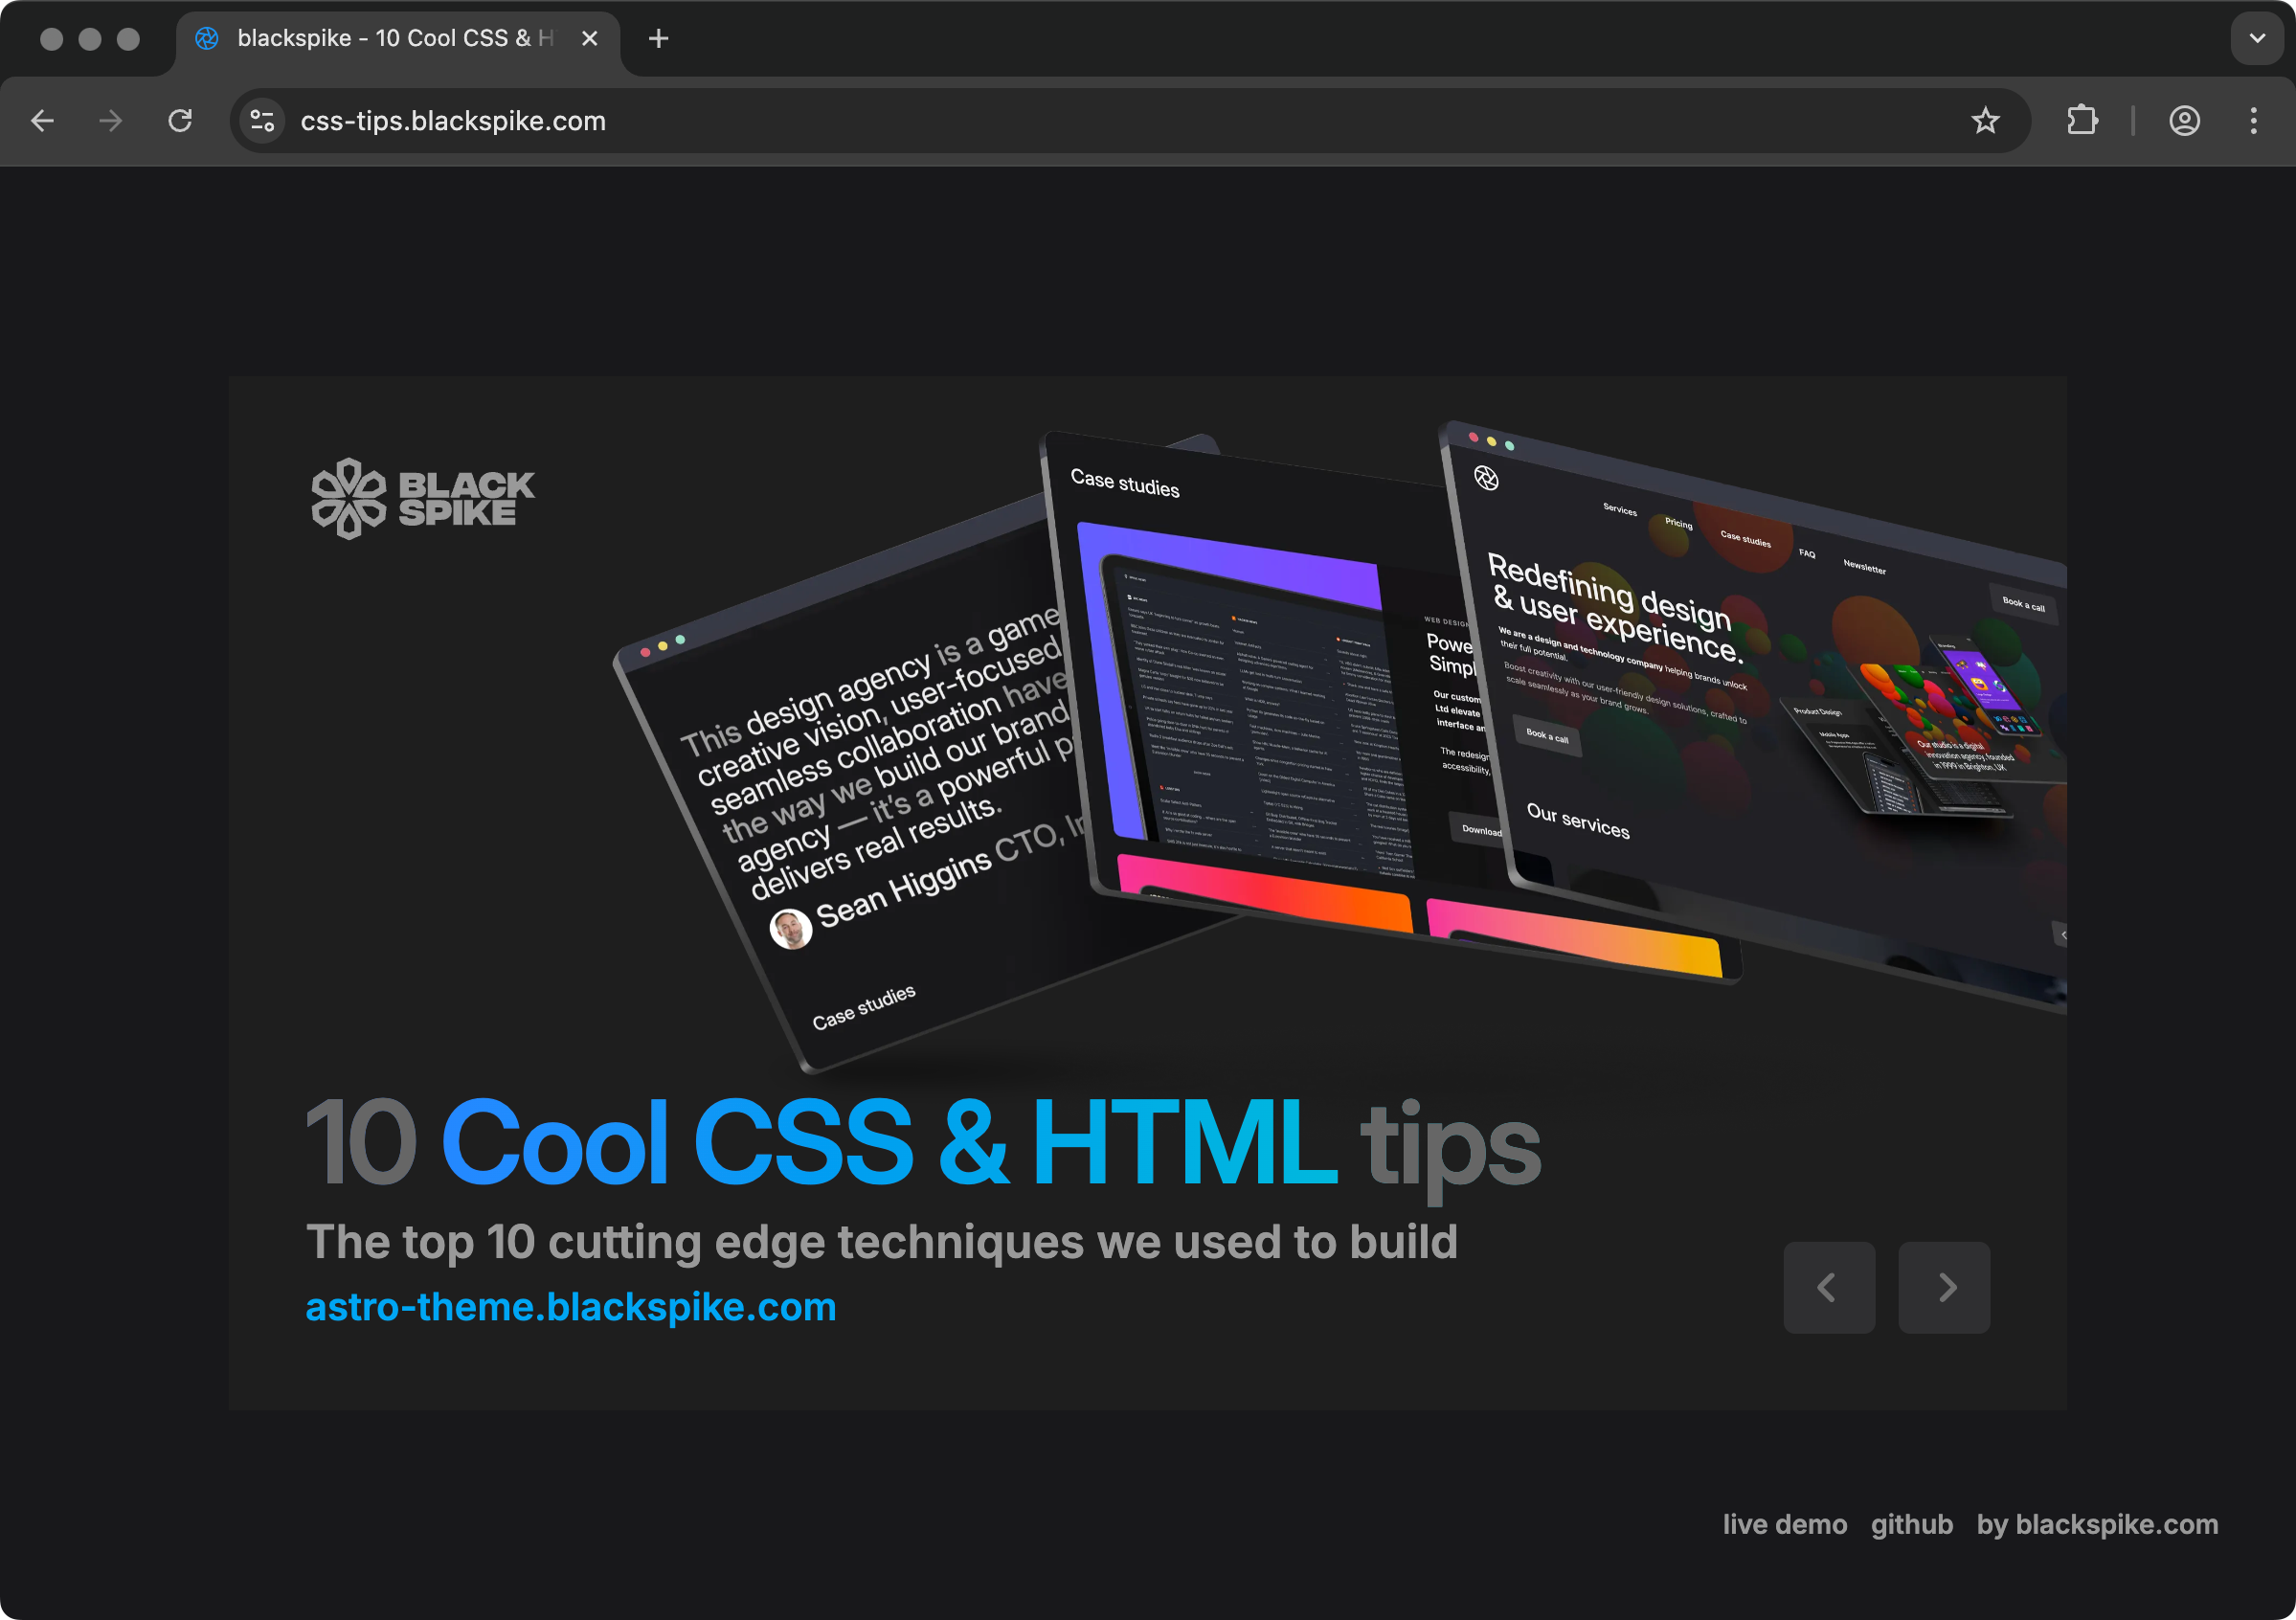
We quickly built out a new Astro site so we could write our slides in markdown and use the browser’s built-in view-transitions to animate between them. Each slide is an mdx file – basically markdown with superpowers, like the ability to import components.
We used Tailwind classes to manually set width and x/y positions to place the video and screenshot for portrait and landscape modes – a slightly boring time consuming process.
For example, our text-wrap balance slide mdx file looks like
---
title: text wrap balance
description: "Nice wrapping for headlines (text-wrap-pretty for body text)"
order: 8
---

import { Image } from 'astro:assets';
import screen from '../../assets/images/code-text-balance.png'
import VideoPlayer from '../../components/VideoPlayer.astro'

<VideoPlayer
  classes="w-[620px] right-[-100px] top-[240px] lg:w-[520px] lg:right-[200px] lg:top-[20px]"
  name="text-balance"
/>

<Image
  src={screen}
  alt="tailwind code: text-balance"
  class="rounded-xl absolute z-1 hover:z-10 w-[340px] right-[40px] top-[140px] lg:w-[340px] lg:right-[40px] lg:top-[390px]"
 />
Looks like:
Dead easy to add another slide or change the order, with the animations powered by our view-transition code.
Video production
We recorded the slideshow in-browser using CleanShotX because it has excellent features (positioning, fps, trimming).
Slightly hack-ily, we progress through the pages using Javascript in the console. We must make buttons for this!
const next = document.querySelector('.js-next')
next.click()
Blender editing
We imported the video into a Blender file – Blender has an awesome VSE built in. You can literally just drag and drop video, images and audio onto channels, tweak, fade and splice them.
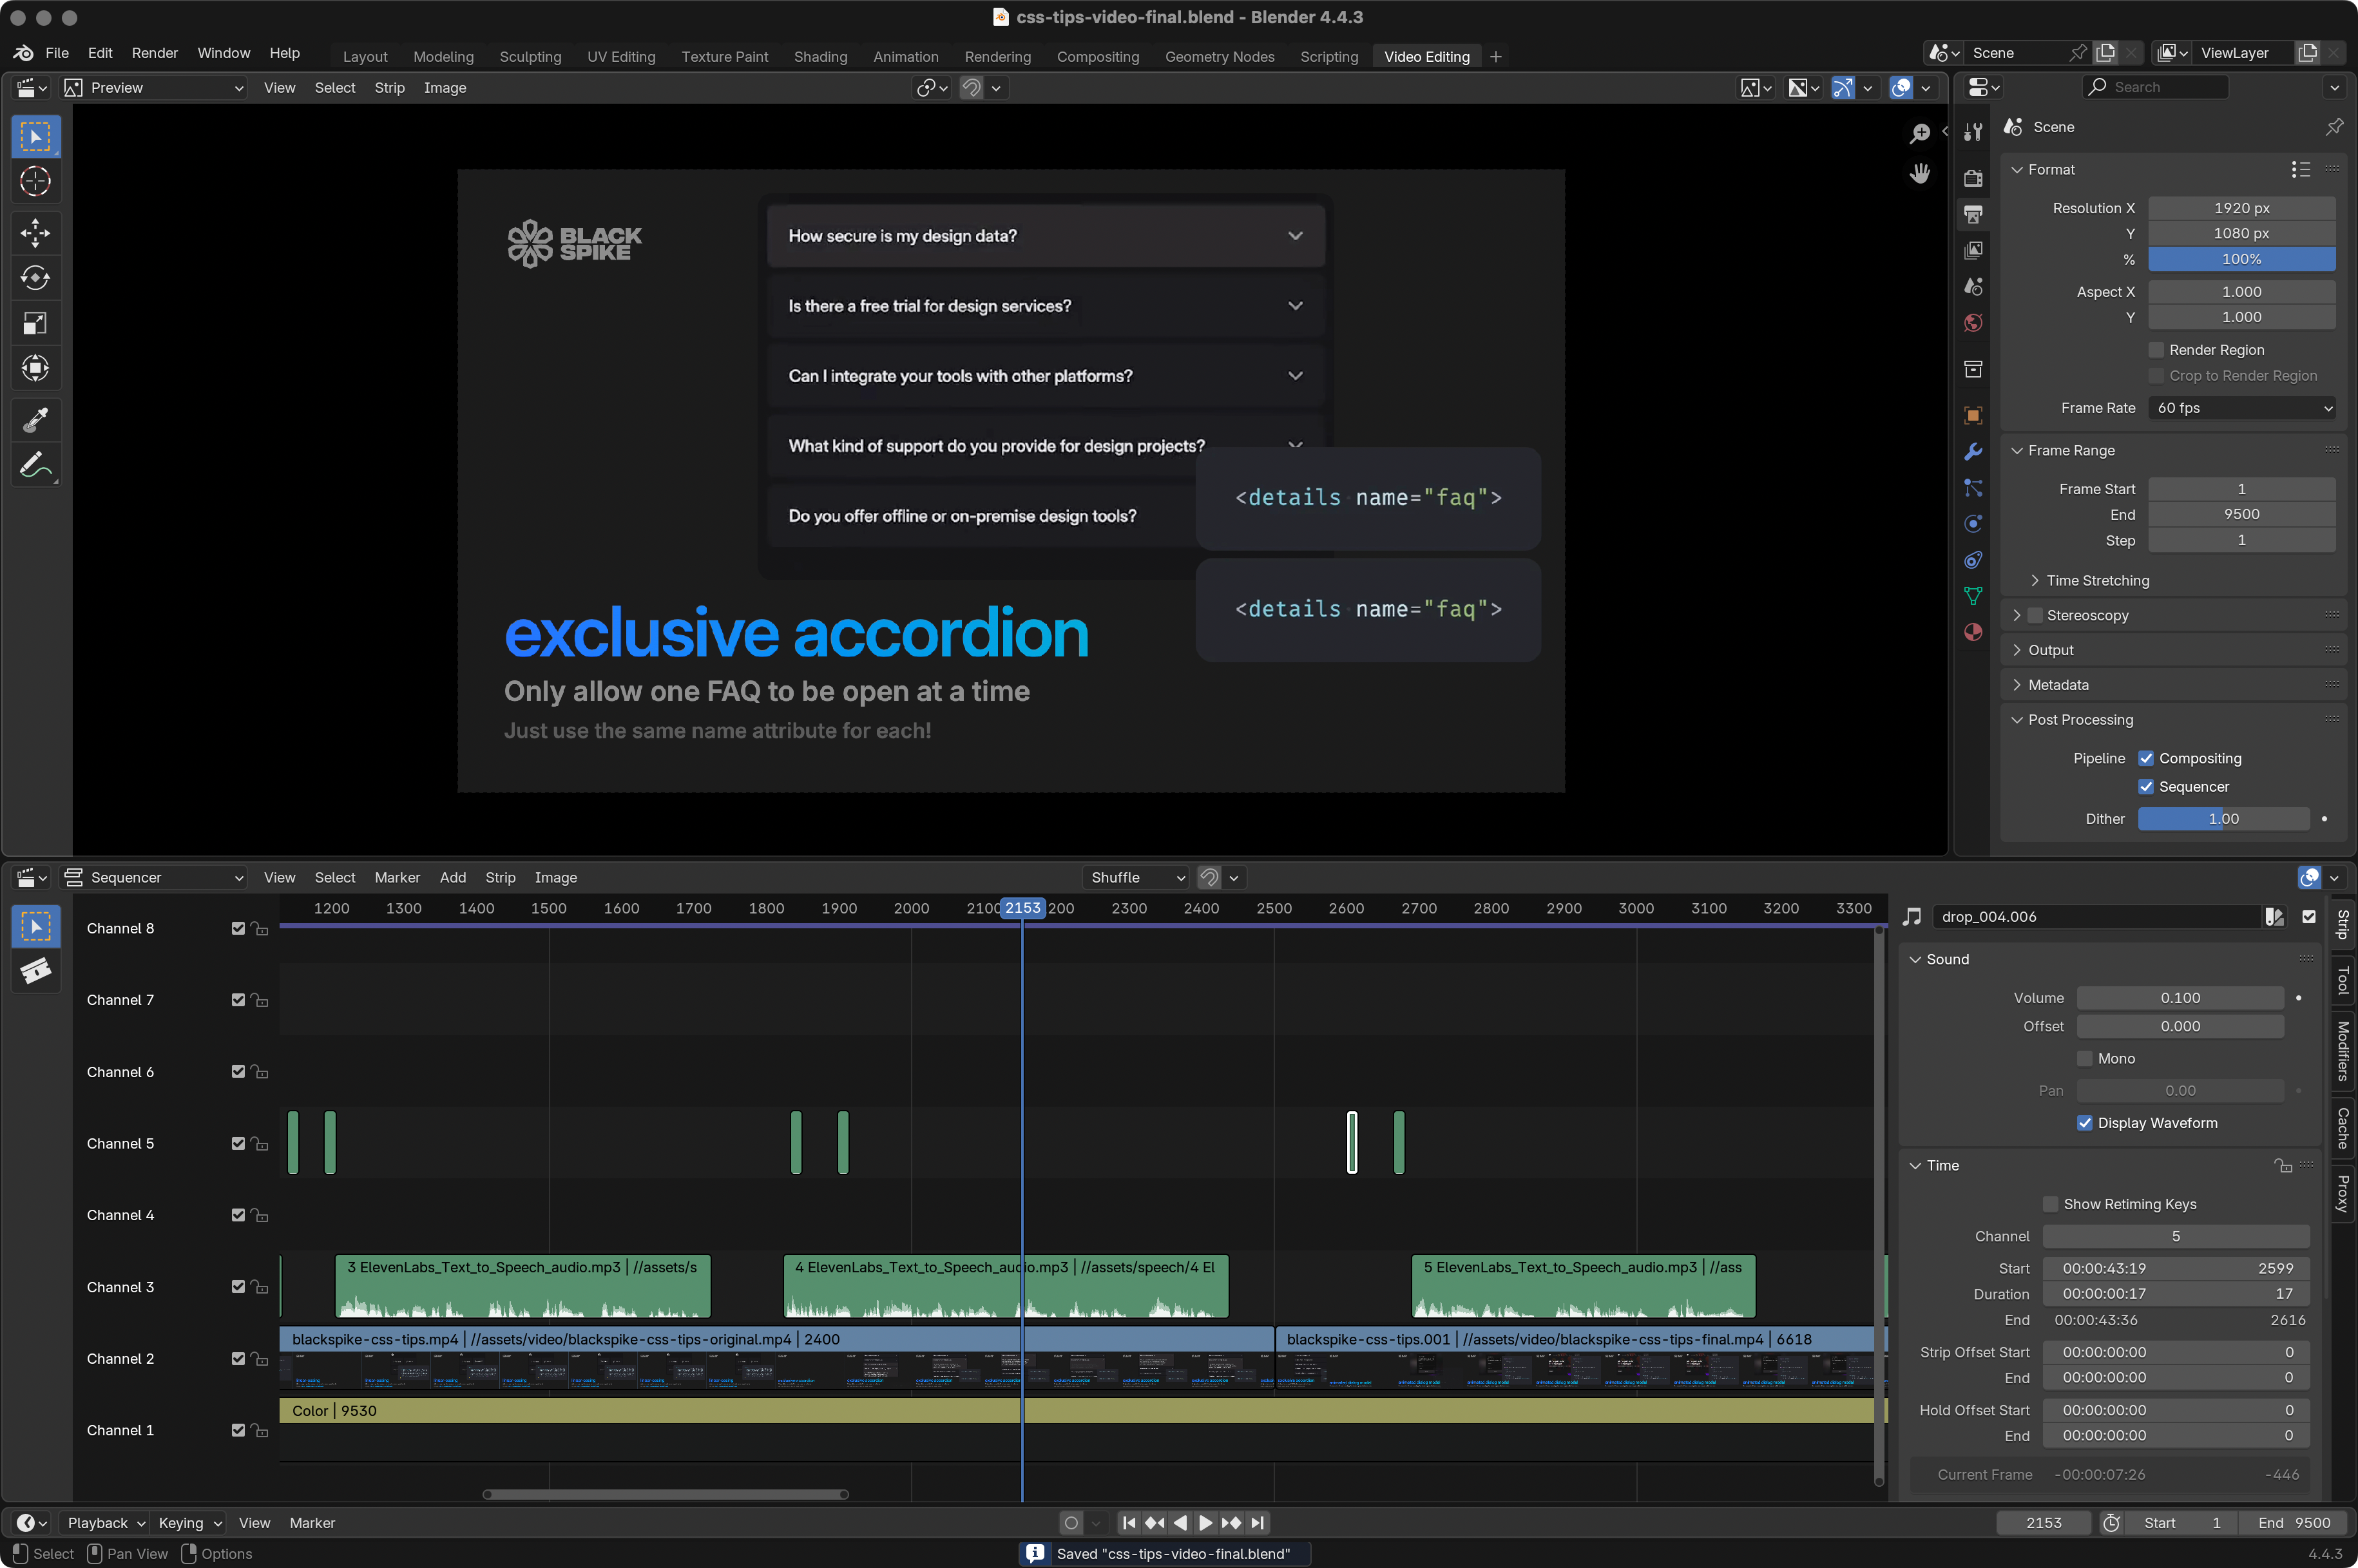
You can see we added plop sounds (thanks Kenney!) when the screens animate in, and the voice-over waveforms.
Voice-overs
Recording voice-overs is incredibly tricky – a hassle to re-record when you want to edit the script – so we resorted to ai for this task. We wrote a script for each slide, pasted it into the convincing elevenlabs text-to-speech tool and dragged the mp3’s above the appropriate movie clips.
Example ai speech clip:
Adding our video to YouTube
We added our cool blackspike ident – an svg animated with Blender – to the start and end (thanks for the dope DEEP STRANGE WHOOSH, Trading Nation), hit render, and uploaded.
We had to validate our ID before we were allowed to include links in the description which took a few hours, and learned to add chapters – you add a list of 00.00 timestamps and titles in the description.
Overnight, YouTube had generated real chapters. The wait was confusing, but YouTube must process them when it feels ready.
Done
We understand we are supposed to ask you to like and subscribe, while we sit back and await our YouTube Creator Award.